
Most tired ceilings in Everett homes can be brought back with the right order of work: find and fix whatever caused the stain, repair the surface, seal stains with a stain-blocking primer, and finish with a flat ceiling paint rolled on evenly from wall to wall. Skip a step and the stain, patch or roller marks usually show right back through. Here is how a ceiling refinishing job works, what you can handle yourself, and when it makes sense to bring in a pro.
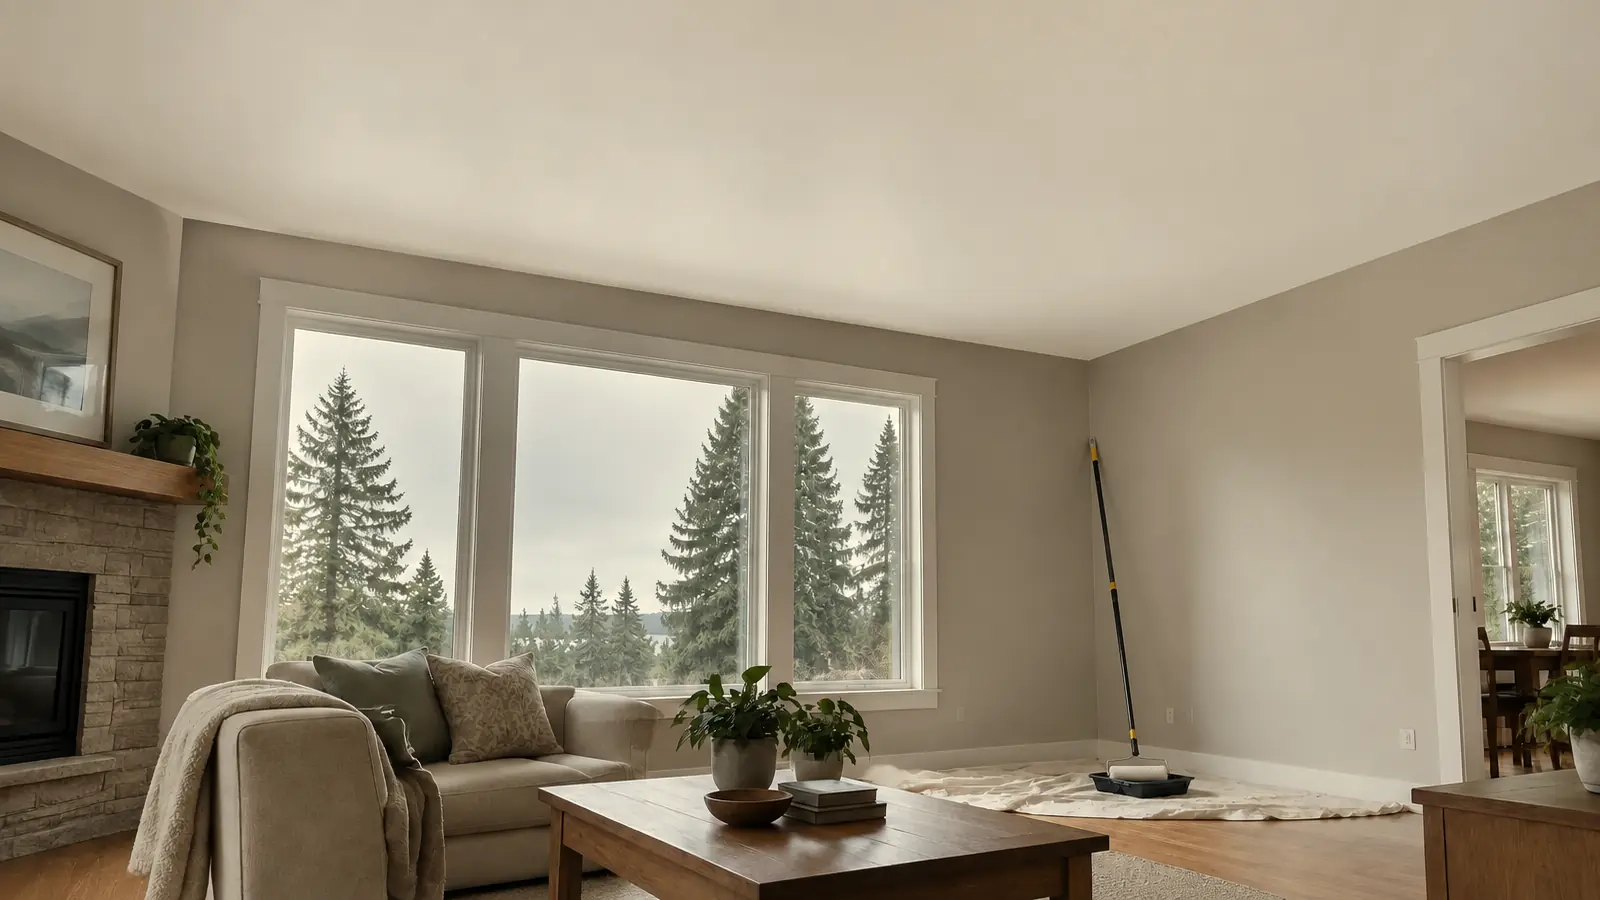
Ceilings are the biggest painted surface in most rooms, and the one people look at least, until something goes wrong. A brown ring after a fall storm, a yellow haze over the kitchen, or a patched spot that never quite matched can make a whole room feel worn. Repainting the ceiling is often part of a larger interior painting project, but it can also be a stand-alone job that makes a room feel brighter and cleaner in a single visit.
Why Ceilings Look Tired in Everett Homes
Everett sits right on Puget Sound, and our long wet season is hard on homes. Ceilings tend to show problems in a few common ways.
Water Stains
Roof and flashing leaks show up as brown or tan rings, often after the first heavy rains of fall.
Plumbing leaks from an upstairs bathroom or laundry room leave stains directly below the fixture.
Condensation around bath fans, skylights and exterior walls can leave faint shadows or spotting over time.
A water stain is a symptom, not the problem. Painting over it before the source is fixed only hides it for a while.
Yellowing and Haze
Kitchen grease and cooking smoke settle on the ceiling over the stove.
Fireplace and candle soot leaves gray streaks, especially near the hearth and along air paths.
Age dulls older ceiling paint, which makes fresh white walls or new light fixtures look off next to it.
Patches, Cracks and Flashing
Drywall patches from plumbing, electrical or leak repairs often show as a flat, shiny or rough spot.
Tape seam cracks appear as homes settle or as seasons change.
Flashing, meaning blotchy shiny and dull areas, happens when a patch or a touch-up was not primed before painting.
If you are also dealing with mildew spots on walls or around the bathroom, our post on stopping mildew on interior walls during the rainy season covers that side of the moisture problem.
Step 1: Fix the Cause Before You Paint
This is the step people most often skip, and it is the reason stains come back.
Find the source. Check the roof, attic, plumbing above, and bath fan ducting. A roofer or plumber may be the right first call.
Let it dry fully. Drywall that is still damp will not hold primer or paint well, and trapped moisture can lead to more damage.
Check the drywall. Soft, sagging or crumbling drywall needs to be cut out and replaced, not painted.
Watch for mold. If you see fuzzy growth or smell a musty odor, deal with that before any painting. Paint is not a fix for mold.
Once the area is dry and solid, it is ready for repair and prep.
Step 2: Repair and Prep the Surface
Good ceiling paint jobs are mostly prep. Here is what that looks like on a typical job.
Protect the Room
Move or cover furniture and lay drop cloths across the whole floor. Ceiling work drips and spatters more than wall work.
Cover or remove light fixtures and smoke detector covers, and turn off power to fixtures you are working around.
Mask the top edge of walls if the walls are not being painted too.
Repair Damage
Patch holes and cracks with joint compound, then sand smooth.
Re-tape loose seams instead of just filling the crack, so it does not open again.
Match the texture on textured ceilings so the patch blends in. This is where many DIY repairs stand out.
For bigger damage, our drywall repair team handles the patching before paint. You can also read more in drywall repair before painting.
Clean and Prime
Clean greasy or sooty areas so primer and paint can stick.
Spot-prime every stain with a stain-blocking primer. Regular ceiling paint alone often lets water stains and smoke stains bleed back through.
Prime every patch so it does not flash through the finish coat.
Step 3: Choose the Right Ceiling Paint
Most ceilings look best in a dedicated flat ceiling paint. Flat paint has almost no shine, so it does not catch light from windows and fixtures, and it helps hide small bumps and seams overhead.
Good ceiling paints are made for the job: they dry to an ultra-flat finish that helps hide small surface flaws, resist spatter as you roll, and are formulated to avoid lap marks so the finish looks even. Those are exactly the traits you want overhead.
| Ceiling Situation | Usual Choice | Why |
|---|---|---|
| Living rooms, bedrooms, hallways | Flat ceiling paint | Hides small flaws and avoids glare |
| Water-stained or smoke-stained areas | Stain-blocking primer, then ceiling paint | Keeps stains from bleeding through |
| Kitchens and bathrooms | A paint rated for moisture and easy cleaning | Handles steam and occasional wiping |
| New drywall patches | Primer, then ceiling paint | Prevents flashing and uneven sheen |
Not sure whether the ceiling should match the walls? We cover that question in should ceilings match walls and painting wall and ceiling the same color. For more on sheen choices across the house, see our interior paint sheen guide.
Step 4: How Pros Paint a Ceiling
Painting a ceiling is simple in theory and tiring in practice. Here is the order a careful crew follows.
- Paint the ceiling before the walls. Drips and roller spatter land on walls that have not been painted yet.
- Cut in the edges first. Brush a clean band where the ceiling meets the walls and around fixtures.
- Roll while the cut-in is still wet. This helps the brushed band blend with the rolled area.
- Work in sections across the room. Roll each section into the last while it is still wet to avoid lap lines.
- Keep the roller loaded but not dripping. Too little paint causes thin, streaky spots. Too much causes drips and spatter.
- Check from different angles. Look across the ceiling toward the windows. Side light shows thin areas that look fine straight on.
- Apply a second coat if needed. Stains, patches and big color changes usually need two coats for an even finish.
Common DIY Problems
Roller lines and lap marks from letting the edge dry before rolling into it.
Thin spots near windows that only show in daylight.
Wavy cut lines at the wall, especially on textured ceilings.
Sore neck and shoulders. Ceiling work is hard on the body, and ladder safety matters.
When to Call a Pro
A ceiling is a good DIY project in a small room with a smooth, sound surface. It makes sense to call a painter when:
The ceiling is high or vaulted and needs taller ladders or scaffolding.
There are water stains, patches or texture that need repair and matching.
The room is open-concept, so the ceiling runs through several spaces and has to look even across all of them.
The ceiling has popcorn texture. Older textured ceilings can contain hazardous materials, so get them tested before any scraping or sanding. Our popcorn ceiling removal service and our post on popcorn ceiling removal cost explain that process.
You want it done in one visit without living in a half-finished room.
Winter is a good time for this kind of work. Ceilings are an indoor job, so rain does not stop it. Our post on winter interior painting explains why many homeowners schedule inside projects this time of year.
Why Everett Homeowners Choose Arclight
Arclight Painting is a veteran-owned company headquartered in Bothell, serving Everett, Woodinville, Kenmore, Kirkland, Mill Creek, Redmond, Bellevue and nearby Eastside and north Seattle communities. We are licensed, bonded and insured.
TrueQuote™ fixed-price proposal. You know the price before work starts.
PCA™ Quality Inspection. Every job is checked before we call it done.
100% Satisfaction Guarantee. If something is not right, we make it right.
5-Year FreshStart™ Touch-Up Plan. Help keeping your paint looking fresh after the job.
Learn more about our work in Everett, or schedule your estimate to get a ceiling, a room, or a whole home on the calendar.
External Resources
Major paint makers publish product pages and data sheets for their ceiling paints and stain-blocking primers. Check those for coverage, dry times and the kinds of stains a primer is designed to block. For leaks, mold or suspected hazardous materials in older ceilings, check with a qualified roofer, plumber, mold professional or testing lab before painting.
FAQ: Ceiling Painting in Everett, WA
Can I just paint over a water stain on my ceiling?
Not with ceiling paint alone. First fix the leak and let the area dry. Then spot-prime the stain with a stain-blocking primer before painting. Otherwise the stain often bleeds back through.
What paint finish is best for ceilings?
Flat is the usual choice for most rooms. It hides small flaws and avoids glare. Kitchens and bathrooms may need a paint that handles moisture and cleaning better.
Should I paint the ceiling or the walls first?
Paint the ceiling first. Any drips or spatter land on walls that are about to be painted anyway.
How do I avoid roller marks on a ceiling?
Keep a wet edge. Roll in sections, overlap into paint that is still wet, keep the roller evenly loaded, and check your work in side light from the windows.
Can you paint a popcorn ceiling?
It is possible, but older popcorn texture should be tested for hazardous materials before it is disturbed. Many homeowners choose removal instead. Talk with a pro before you start.
Is winter a good time to repaint ceilings in Everett?
Yes. Ceiling painting is indoor work, so the rain does not slow it down, and it is a nice way to brighten darker winter rooms.
A clean, bright ceiling can change how a whole room feels, especially during Everett's gray months. If your ceiling has stains, patches or just years of wear, we can help you plan it from repair to final coat. Schedule your TrueQuote™ and we will take a look.